
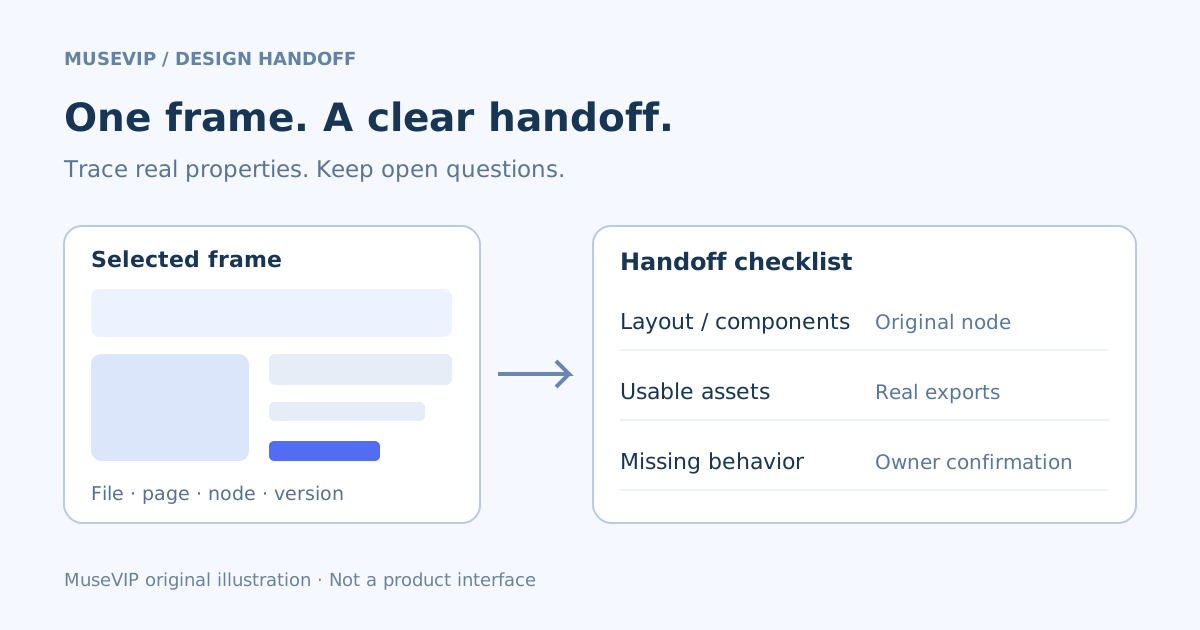
This guide focuses on “Muse Figma tutorial” and turns the question into practical steps you can check.
01 | Begin with one confirmed frame
A large Figma file may contain older directions, mobile variants, and unfinished experiments. Ask Muse to prepare a handoff for one explicitly selected frame first. The useful result is a specification you can trace back to the design.
@zoink posted a Muse and Figma concept image on September 29; Meta’s business announcement that day lists Figma among its connectors. This tutorial is organized from Figma’s permissions, sharing, inspection, and export documentation. The concept art is not an operational demonstration, and we have not tested your account. Confirm availability and readable data in your actual connection.

02 | Confirm the identity and accessible file
Look for Figma in your current Muse connector interface and verify the authorization identity. Try reading a file you are already entitled to access. Figma distinguishes view, edit, and folder access routes. Folder audience access alone can leave individual restricted files unavailable; a direct individual role on a folder is inherited by its contents. Check the access source in Share before drawing a conclusion.
Keep this task limited to reading and organizing. Do not edit frames, variables, or components. If the connector or file is unavailable, obtain an allowed frame export and written specification from someone with permission. Do not make the file public simply to get a task running.
Figma also documents MCP tools. That documentation helps explain possible data routes but does not establish which tools Muse’s native connector currently exposes. Ask Muse to report what it actually retrieved and which fields remain unavailable.
03 | Use the precise frame link and record the version
Select the intended frame or node before copying its link. Figma’s sharing guide explains that a selected object can be included in the destination; nested frames may link to their parent. Reopen your copied link and confirm where it lands.
Supply the file, page, frame name, link, and reading time. Specify desktop or mobile and ask the design owner which version is confirmed. If no version is labelled, distinguish the currently visible design from approval for implementation.
Request a source location for each specification. After an update, reread the same scope and identify changes rather than carrying an older dimension into a new handoff.
04 | Separate measured properties from missing behavior
Request layout, spacing, typography, colors, component references, and assets with their source: file properties, variables, annotations, or a screenshot. If the only input is a screenshot, label dimensions and colors as estimates.
Figma recommends meaningful layer names, reusable components, variables, Auto Layout, and annotations. Use the information that actually exists in the file and send gaps back to the owner. An identified component variant is more useful than a visual guess about a blue rectangle.
Keep unresolved behavior visible: loading, empty results, errors, keyboard interaction, long content, and mobile menus. A static design does not authorize Muse to decide these requirements for the product team.
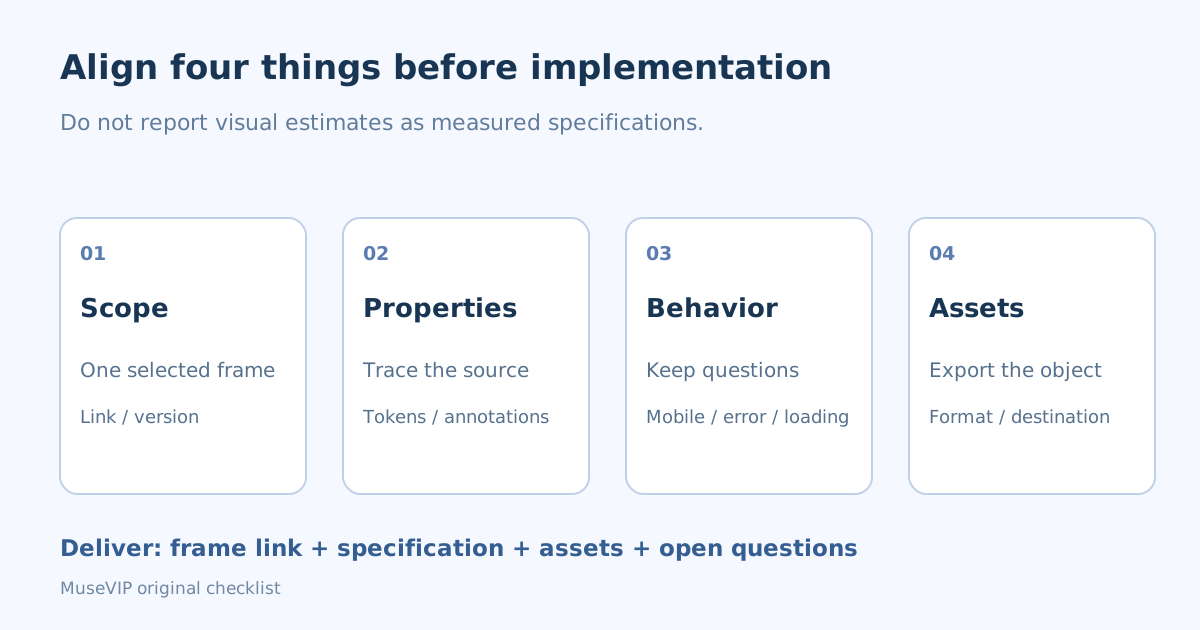
05 | Check important values in the available inspection view
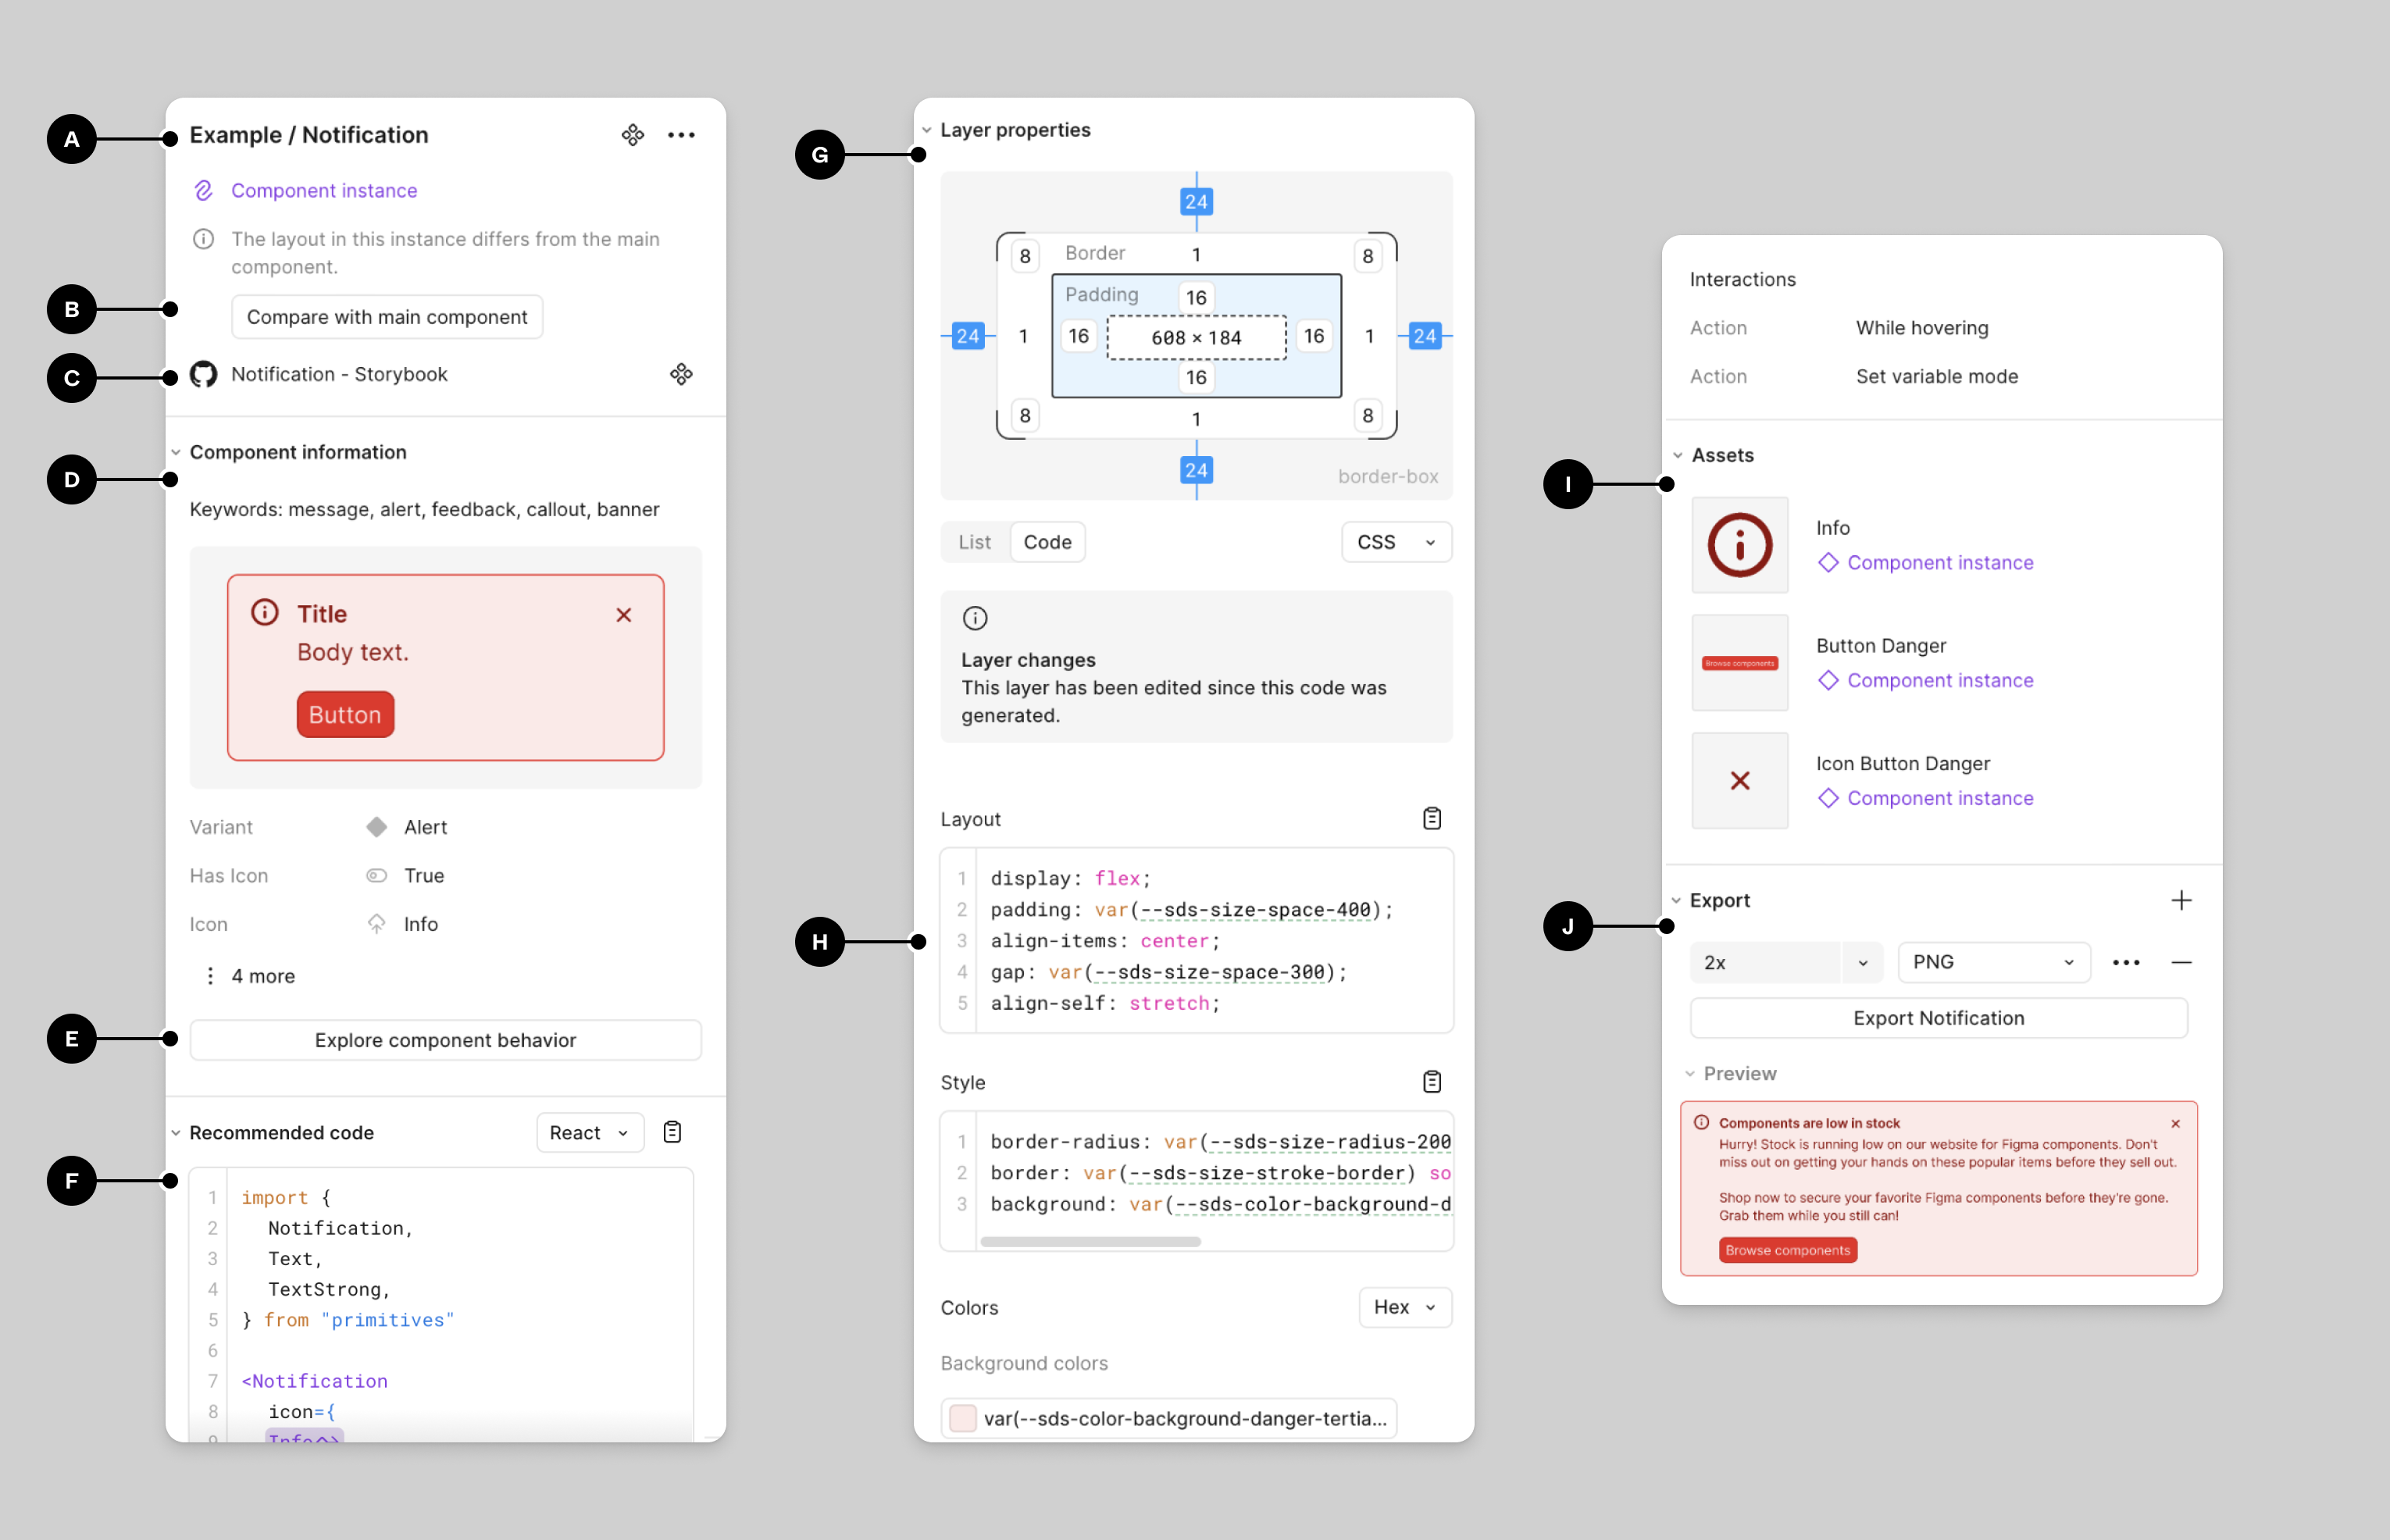
With a paid plan, a Full or Dev seat, and file access, Figma Dev Mode provides inspection areas for component properties, layout, resources, assets, and export, as well as change comparison. The image below is Figma’s public example, not a Muse conversation.
Check a primary button and a content card against the original object. Verify dimensions, spacing, typography, and the referenced variable or component variant before expanding the task. If Dev Mode is unavailable, use accessible properties and owner-supplied specifications without promising the same inspection features on every account.
A code snippet or MCP design context is not automatically deployable implementation. Figma explicitly describes its returned context as material for translation into the project’s actual stack and components.
06 | Export the actual asset rather than substituting a page capture
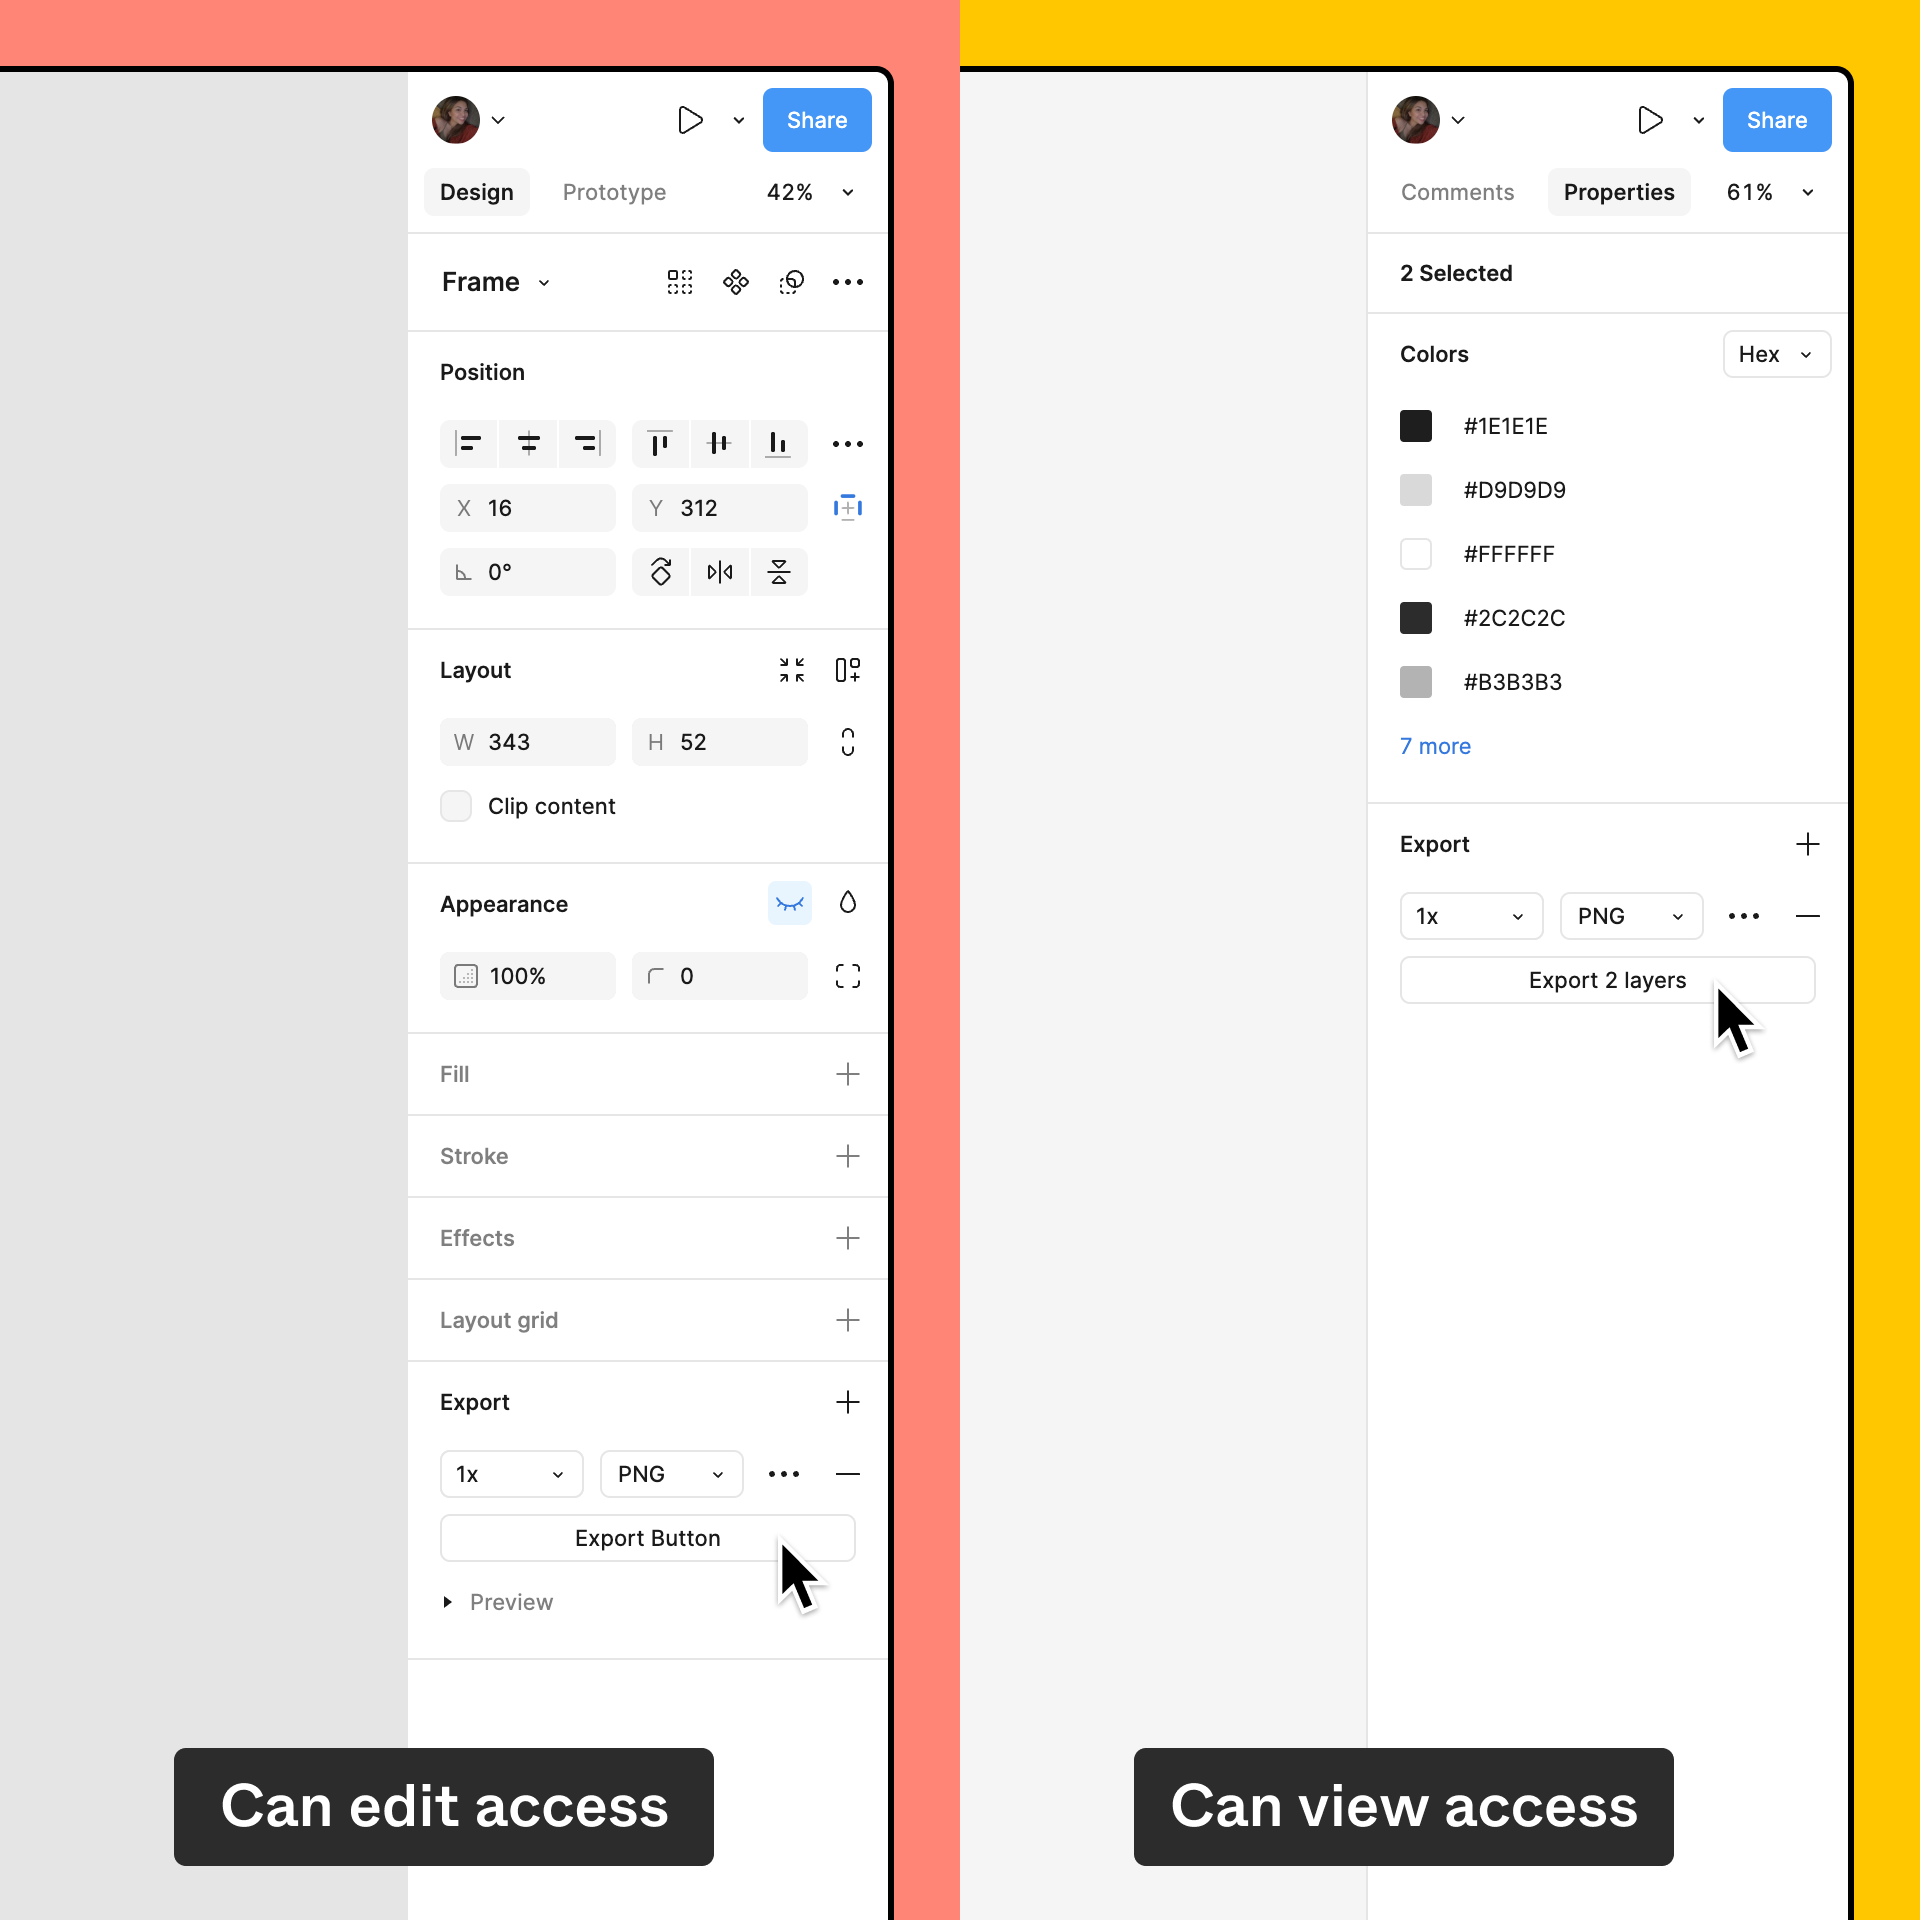
Find the relevant object and its export settings. Figma’s official example shows export controls for an editor and in the Properties view for a viewer. If Export is absent, refresh and check access; copying and exporting may be restricted.
Record the node, file name, real format, scale, and intended use. Choose the asset format for its actual destination. A frame exported as PNG can be a visual reference, but it is still a static image rather than an editable component or interactive site.
Open each delivered asset to inspect clarity, edges, and transparency. If only a screenshot was available, identify it as reference material and list the original asset as missing.
07 | Use a request with an inspectable output
Example request: Read only the login frame at this Figma link. Create a handoff table containing object name, original node location, retrieved properties, source type, and unresolved questions. Separate file properties from screenshot estimates. List referenced components and required exports. Leave unseen error, loading, mobile, and keyboard behavior unresolved. Do not change the design or generate or commit code.
Add project constraints: use our existing components and brand font; cover the desktop login page first; mobile behavior needs the design owner’s confirmation. Request a traceable table and asset directory, not a description of the entire file.
Review three things in the original: correct frame, evidence for important properties, and clearly marked missing behavior. If scope is wrong, narrow the task and repeat it before creating more documentation.
08 | Leave the next person a usable handoff
Deliver the confirmed frame link, a traceable specification, real asset exports, and questions assigned to the relevant design or product owner. Arrange implementation after those questions are resolved and record which objects or assets change in later revisions.
For files collected across services, continue with the <a href="/en/guides/muse-drive-asset-library/">Drive asset library guide</a>. When implementation is ready, use the <a href="/en/guides/muse-github-pr-review/">GitHub PR review workflow</a> to inspect the code against the agreed requirements.
References
These sources support the product information in this guide. Musevip is an independent publication and is not affiliated with Meta.
- [1] Meta Muse business connector announcement
- [2] Meta connector authorization
- [3] Figma official documentation — 35361119554711-File-and-folder-permissions
- [4] Figma official documentation — 360040531773-Share-files-and-prototypes
- [5] Figma official documentation — structure-figma-file
- [6] Figma official documentation — tools-and-prompts
- [7] Figma official documentation — 360040028114-Export-from-Figma-Design
- [8] Figma official documentation — 15023124644247-Guide-to-Dev-Mode
- [9] Figma official documentation — server-returning-web-code