
This guide focuses on “Muse Canva flyer” and turns the question into practical steps you can check.
01 | Set the event details before asking Muse to lay out a flyer
A flyer can look polished and still send customers the wrong date, address, or discount. Check the event facts first, then ask Muse to create a Canva draft. Your checked source list gives you something concrete to compare when the layout changes.
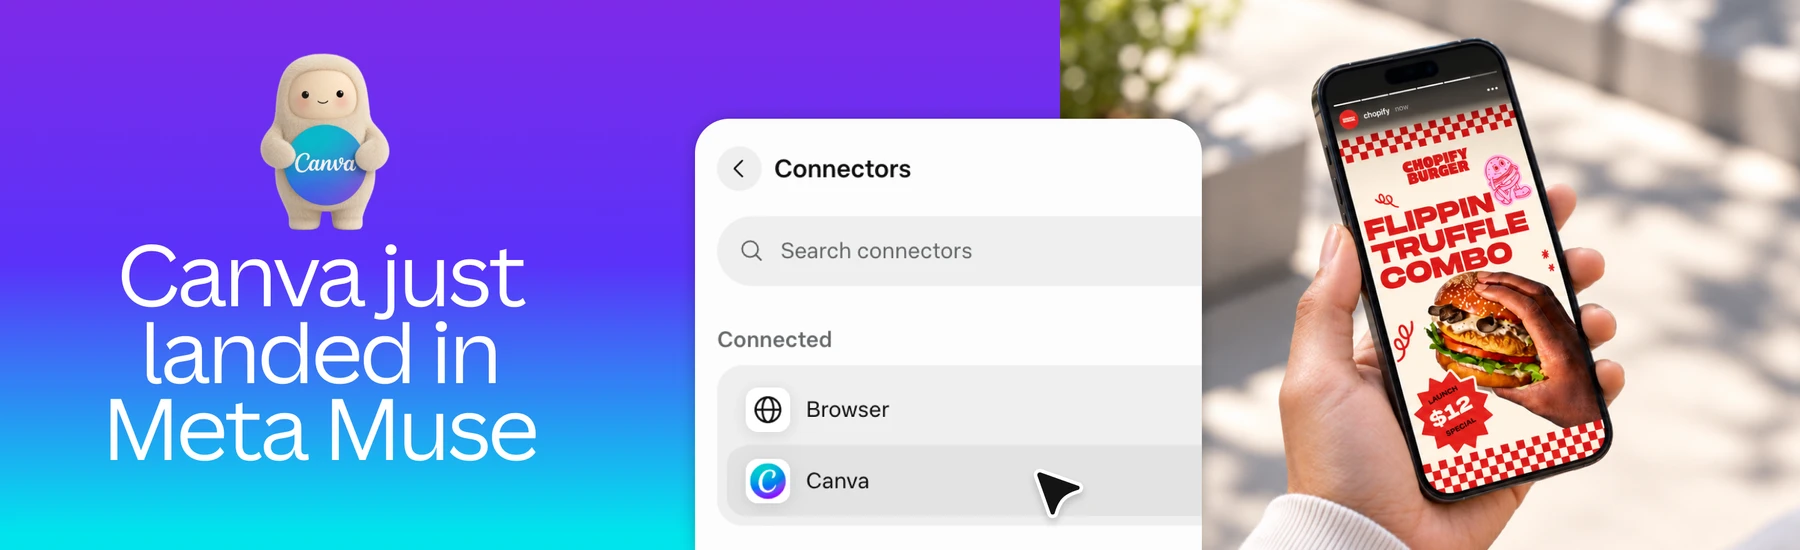
Meta and Canva announced the Canva connector for Muse in September 2026. Canva says the connector can use fonts, colors, and assets from your account to create editable designs, with the user reviewing and editing the result. Canva currently lists Muse availability in the United States and Canada. MuseVIP has not tested a connected account, and a team administrator may need to enable the connector.
02 | Gather the facts and assets the flyer actually needs
Write down the event name, host, date, start and end time, time zone, location, price or discount, registration method, contact details, and exact call-to-action text. Mark anything still undecided as pending. Do not ask Muse to fill in a date, address, or offer condition from guesswork. Include terms, age restrictions, or capacity limits when they matter to this event.
Prepare the logo, approved product or venue photos, brand colors, typeface names, and the image that belongs in the main area. Label each file by intended use, such as hero image, product view, or store interior. Do not include web images, customer photos, or someone else’s logo unless you have permission to use them for this design.
03 | Confirm the Canva connection and account permissions
Canva says its AI Connector is available across Canva plans, while Muse’s Canva connection is currently listed for users in the United States and Canada. If Canva does not appear in a supported Muse account, confirm you are signed into the right Canva account. Team, school, and enterprise admins may disable third-party connections. Check that your organization allows the connected assistant to access the design information it needs.
Canva Help describes the AI Connector as a third-party integration. A connected assistant can read design and folder details and create or edit designs, using the permission scope of Canva Connect API. Public docs do not establish a separate Muse switch for every action, so a prompt is not an access-control mechanism. If that scope is too broad for your organization, do not connect it. If the connector is approved, ask Muse to create one new draft and leave existing masters and publishing actions alone.
04 | Use a Brand Kit if you have one, or provide brand rules directly
If your account can access a Brand Kit, check that its logo, colors, fonts, and approved templates are current. Canva Brand Kits depend on eligible plans, team roles, and admin settings; personal Brand Kits may also be disabled by an administrator. Do not assume that every free account has an available kit or access to a team template.
If you do not have a Brand Kit, provide the logo file, color values, font names, and a few layout rules in your brief. Canva Help says Brand Template search requires an eligible paid plan, and you only see templates shared with you. If you lack access, use a design you can open or provide the brand rules manually instead of guessing a template name.
05 | Give Muse a design brief with a narrow scope
Provide the verified copy, output size or channel, and approved brand assets together. Ask for one event-flyer draft. Say which information should stand out, which words must remain exact, and what to do when a required detail is missing. Tell Muse to use only supplied assets and not invent prices, guarantees, opening hours, or customer quotes.
You can write: ‘Create one editable, single-page event flyer draft in Canva, sized for [platform or print size]. Event: [name]. Date, time, and time zone: [exact details]. Location: [address or online link]. Offer: [exact terms]. Registration: [copy or URL]. Use only these brand assets: [logo file, color values, font names, approved photos]. Use this headline exactly: [headline]. Use this call-to-action exactly: [CTA]. Do not add prices, terms, addresses, or performance claims not included above. Ask me about missing required details; do not replace them with guesses. Do not overwrite an existing design, share, export, publish, or send anything. Return the Canva design link and a list of items I should verify.’
06 | Open the link and make sure it is an editable Canva design
Canva says designs created through Muse remain editable. Ask for the Canva design link and the actual page content, not only a preview image or exported PNG. Open the link in the Canva account you intend to use. Confirm it is saved in the right workspace, the page size and count are right, and the text and elements can still be selected and changed.
If you received only an image attachment, a public preview, or a link you cannot open, ask Muse what it created and locate the accessible Canva file before continuing. A flattened PNG is not a source file for later text, logo, or layout changes. For revisions, list only the specific elements to change, then reopen the same Canva design to check the result.
07 | Proofread the copy and inspect the actual layout
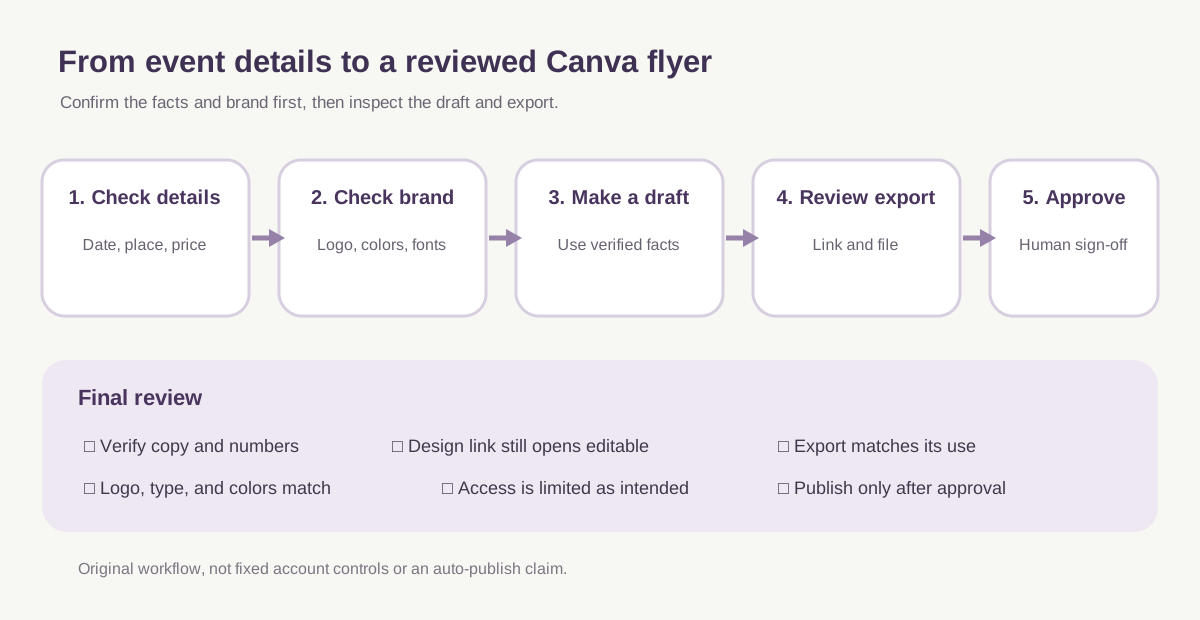
Compare the flyer with your source list: event name, date, weekday, start and end time, time zone, address, price, discount threshold, registration URL, phone number, and deadline. Read numbers, currency symbols, and URLs carefully. If there is a QR code, scan it on a phone and confirm it opens the registration page you supplied. Leave unknown details blank or marked pending instead of making them look complete.
Then check that the logo is not stretched, the expected font is used, the colors match the brand, and the type is readable on a phone. Look at margins, crops, and contrast. If a revision is needed, give Muse a short list of concrete changes, such as ‘increase the time by one type size; leave all other copy unchanged,’ then compare the updated Canva file again.
08 | Choose an export and sharing level, then publish it yourself
PNG or JPG works for many online graphics. For print, choose PDF Print only when it matches the printer’s requirements for bleed, crop marks, and color settings. Transparent backgrounds, SVG, size, and quality choices vary by plan. Open the downloaded file and inspect its dimensions, fonts, crops, transparency, and QR code; a chat preview is not a check of the actual export. Keep the Canva design link for future edits because a PNG, JPG, or PDF is an exported file.
Canva designs default to private. Sharing can be limited to your team or made available to anyone with a link, with separate view, comment, or edit permissions. An edit link can let its recipients change the design. Before public sharing, inspect hidden pages, presenter notes, cropped content, and revision history; make a copy if you need a clean version for external sharing. Review the final preview yourself and publish only after approval. For more Muse small-business workflows, continue with the <a href="/en/guides/muse-small-business-weekly-brief/">Muse small-business weekly brief</a>.
References
These sources support the product information in this guide. Musevip is an independent publication and is not affiliated with Meta.
- [1] Canva: Canva expands design with Muse, from Meta
- [2] Meta: Muse for Small Business
- [3] Canva Help: Connect Canva to an AI assistant
- [4] Canva Help: Actions available in AI assistants connected to Canva MCP
- [5] Canva Developers: Canva MCP capabilities
- [6] Canva Help: Set up Brand Kits
- [7] Canva Help: Sharing designs and access permissions
- [8] Canva Help: Choose the right download file type