
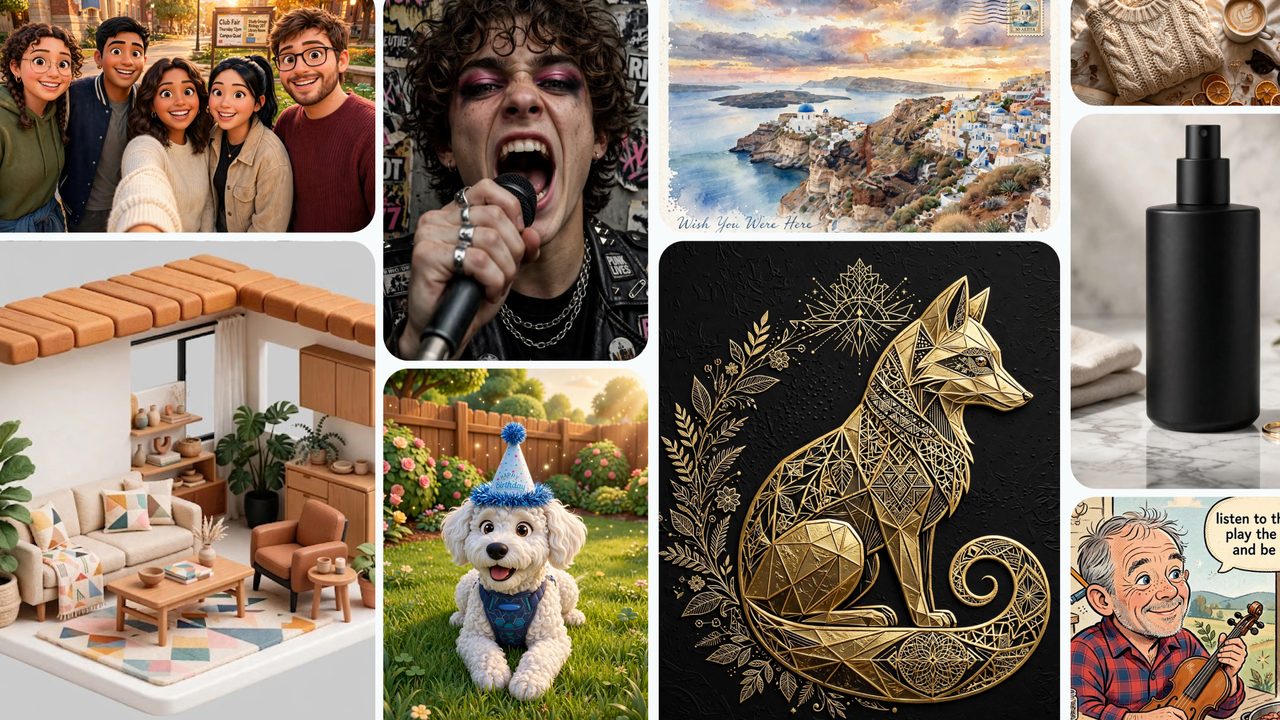
This guide focuses on “how to use Muse Image” and turns the question into practical steps you can check.
01 | Pause any tutorial that starts with a public username
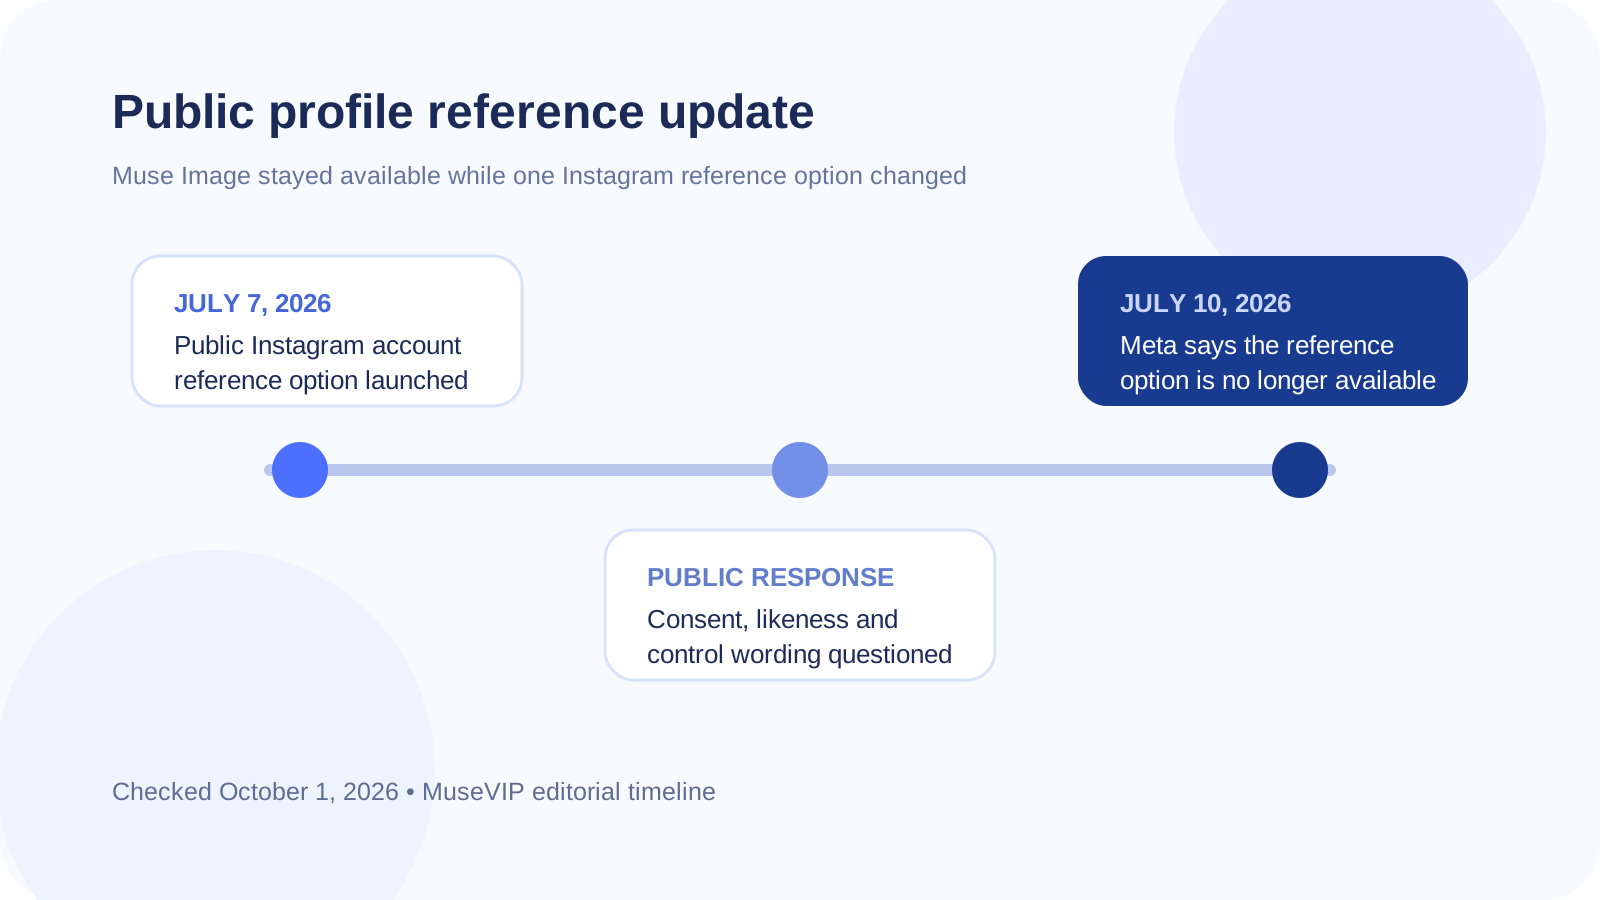
A wave of warnings appeared on X in early July 2026. SAG-AFTRA urged Instagram users to disable reuse, while @majornelson pointed out that the toggle language was difficult to interpret. Meta changed the product a few days later.
Meta updated its launch post on July 10 and said the option to reference a public Instagram account with an @ mention was no longer available. Screenshots and opt-out walkthroughs from those first three days document an old interface. Muse Image itself remains available for creating, editing, and sharing images made from material you provide.
02 | Check whether Muse Image is available to your account
Open the official Meta AI app or meta.ai and look for image creation, presets, or a photo upload control. Meta says Muse Image is rolling out to more countries and surfaces, so the entry point can vary by account, region, and app version.
If it is missing, update the official app and check current Meta AI availability for your region. Avoid extensions or account services that promise to unlock it. Meta has described a gradual rollout rather than one universal release date.
- Confirm that you are signed in to the Meta account you intend to use.
- Start a new conversation and look for image creation or preset controls.
- Review any explanation of file use and sharing before uploading.
- If the control is absent, record the app version and region and wait for official access.
03 | Begin with material you control
Use a photo you took, an asset you created, or material you are clearly allowed to edit. Start with a reversible change such as removing a distraction, changing the crop, restoring an old photo, or testing a visual style. Get permission from recognizable people in a photo.
Keep a copy of the original. If a face, product mark, or room layout must stay intact, state that in the prompt. Do not upload identification, contracts, unreleased products, or images that expose a private address.
04 | Name what should stay and what should change
A useful prompt identifies the source material, the requested change, the elements that must remain, the aspect ratio, and the destination. Replace a vague request such as “make it premium” with “keep the face and framing, change the background to a softly lit interior at dusk, use a 4:5 portrait crop, and add no text or brand marks.”
Change one major element in the first pass. Once the subject and composition look right, refine lighting, material, and small objects. A smaller edit history makes an error easier to trace.

05 | Mark the area for a local edit
Meta's launch material shows a markup tool that lets you circle, sketch, or annotate the part you want to change. When replacing one object in the background, mark that area and describe the replacement. This gives the rest of the image a better chance of staying stable.
Zoom in after every revision. Inspect hands, teeth, glasses, text, product edges, and repeated objects in the background. Return to the previous version when a change causes damage, reduce the selected area, and use a more precise instruction. Save versions you like before making another round of edits.
06 | Verify text and QR codes outside the image
Meta demonstrates text and QR-code use cases, but a graphic that looks correct can still contain a wrong date, price, address, or link. Proofread event graphics character by character. Scan a QR code with another device and confirm the destination domain.
Commercial images also need a rights review and any checks required by local advertising rules. The generator produces the visual; the publisher remains responsible for what it says and shows.
07 | The public-account reference option lasted only a few days
The July 7 launch version let people mention a public Instagram account in Meta AI and use that account's content as a reference. Questions about consent, likeness, and the meaning of the controls followed immediately. On July 10, Meta updated the official article and said the feature was no longer available.
Keep the two product states separate. Muse Image remains an image generator; referencing a public account by username has stopped. Skip that step whenever an older tutorial asks you to enter somebody else's Instagram handle.
08 | Treat current Instagram controls by their current wording
Old guides pointed to Sharing and reuse controls for this specific feature. Meta has removed the feature, so there is little value in hunting for a screen that exactly matches an early screenshot. Instagram may still have separate controls for sharing, remixing, and account privacy. Read each control as it appears in the current app.
If you are reviewing public exposure, start with whether the account is public or private, then check post, Reel, and reuse permissions. Do not assign a Muse Image effect to a control that does not mention it. Switching an account to private also changes normal audience access, so consider followers and business use before doing it.
09 | A prompt you can adapt
Replace the bracketed text and make the first edit easy to inspect.
- Use the photo I uploaded and have permission to edit. Change [selected area] to [requested result].
- Preserve [face, pose, product shape, or room structure]. Do not add people, brands, text, or QR codes.
- The image is for [post, cover, or poster], with a [size] aspect ratio, a [specific style], and [specific lighting].
- Create one version first. List the visible elements you changed and remind me to inspect people, text, marks, and the background.
- Do not reference a public Instagram account or fill gaps with photos of people I have not authorized.
10 | Run a final publishing check
The current Muse Image workflow is straightforward. Start with your own material, change one thing at a time, use markup for local edits, and inspect the result before sharing. Remove the public Instagram account reference step from any older tutorial you follow.
- Compare the result with the original and inspect every element that was meant to stay.
- Proofread visible text and scan every QR code to confirm its destination.
- Confirm the source material and final output have the rights needed for the intended use.
- Keep the prompt, original, final image, and generation date for later edits.
- Ask recognizable people in the image to review the final version before publication.
References
These sources support the product information in this guide. Musevip is an independent publication and is not affiliated with Meta.
Last reviewed 2026.10.01. Product pages may change.