
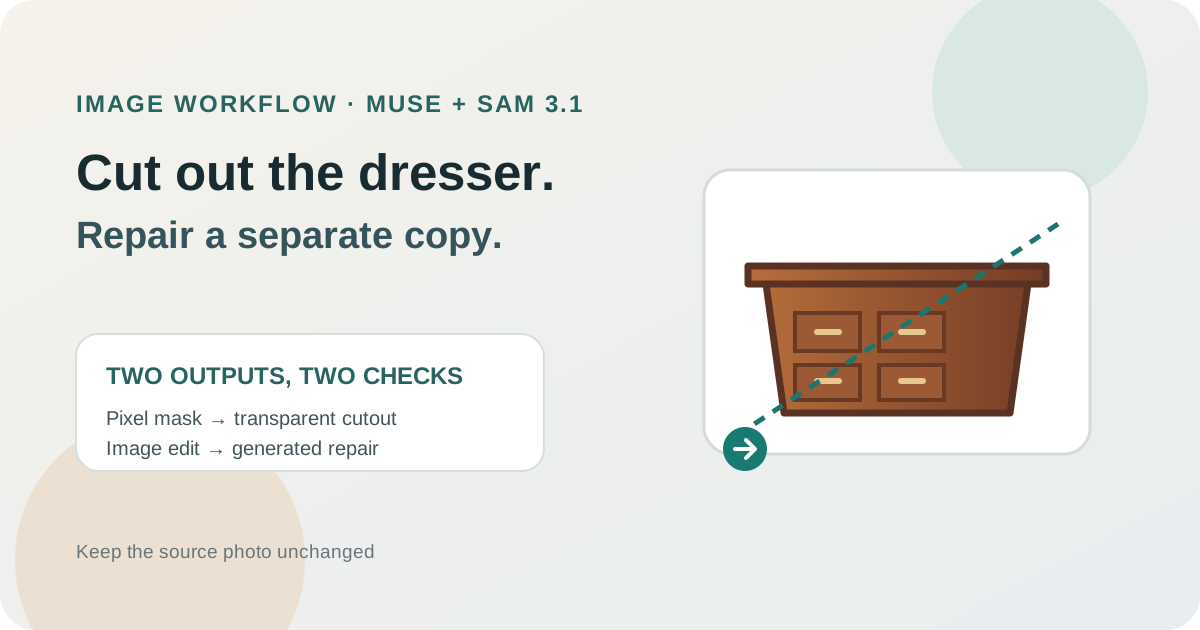
This guide focuses on “SAM 3.1” and turns the question into practical steps you can check.
01 | Decide which file you need first
A furniture photo usually presents two different jobs. A catalog may need a transparent cutout. A blocked or missing patch on a tabletop may need a plausible fill. Those results need different checks and should not be treated as the same image.
Meta’s SAM 3.1 documentation describes bounding boxes and pixel masks returned from a short object phrase. The Muse Image API documentation describes editing an image from an instruction and returning a new image. This guide follows published API documentation; I did not test it with a personal Meta account.
02 | Start with a source photo that shows the outline
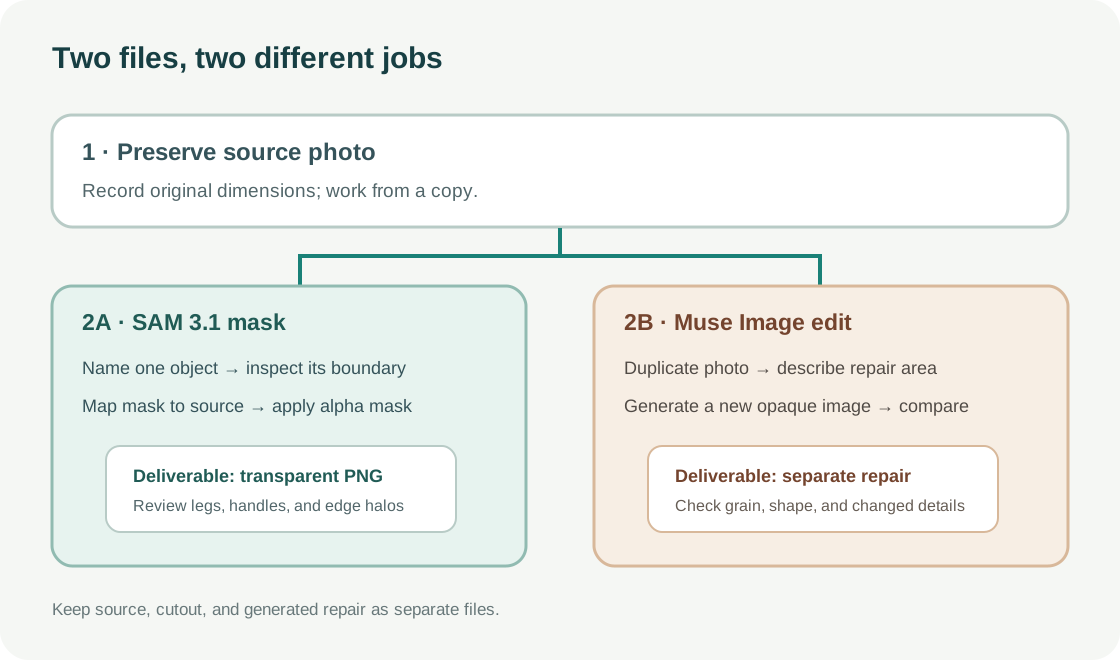
Duplicate the source before editing. Choose a photo where the furniture edge contrasts with the background and all four legs remain inside the frame. Small objects, paper, handles, and shadows can confuse a mask, so note what belongs in the cutout before you start.
Record the actual source width and height, and keep an unscaled copy. SAM returns the source dimensions and a separate mask raster size; the official example mask is smaller than the full image. When compositing, map the mask back onto the source canvas with its corresponding object box. Do not treat the mask raster as a full-size image by itself.
03 | Ask SAM to find one specific object
If you want to start from a Muse conversation, ask Muse to plan a connector against Meta Model API’s official documentation and list the required actions and permissions. Meta’s safety writeup says Muse can build custom connectors for services with an API or CLI, and that credentials are stored in its secure credential store. Use the creation path and capabilities shown in your current client. The Help Center’s steps for connecting an existing connector do not mean every account can create arbitrary connectors.
You can give Muse this planning request. Read Meta Model API’s official SAM 3.1 and Muse Image docs and propose a custom connector for both services. Define two separate actions: one segments a single image I select and returns a mask preview; the other attempts an edit only on a copy I specify. List the model IDs, API endpoints, data destination, and permissions. Do not send an image or make a real request until I review the proposal. If an API key is needed, ask me to save MODEL_API_KEY through Muse’s secure credential UI and read it only when making the service request. Do not ask me to paste the key into chat, plaintext config, or a screenshot.
Meta Model API calls SAM 3.1 through the Responses API with model ID sam-3.1. An image request includes an input_image and a short input_text. Meta recommends one concrete noun phrase per request. Start with wooden dresser; do not combine the dresser, a phone, a tray, and the room in one phrase.
Create a Meta Model API key in the dashboard before making API requests. Meta recommends an environment variable or secrets manager and says to keep keys out of client code, source control, and screenshots. An author’s X post shows a personal connector setup; it does not establish the same availability for every Muse account.
04 | Inspect the mask before changing pixels
SAM returns its mask in an encoded output-text format. Meta’s @meta-sam/parser library can decode the result into a binary raster with a 0 or 1 for each pixel. That raster marks the object area; it is not already a PNG with transparency.
Use Meta’s @meta-sam/graphics preview library, or another tool that places a mask by its source-image box, to overlay it on the photo. Thin legs, handles, dark shadows, and tabletop edges are common places to miss. Floor, small items on the dresser, or a wall behind it can be selected by mistake. If the outline is wrong, use a more specific noun phrase or handle a missed component separately. After checking alignment, turn the outside area into a transparent layer mask.
05 | Check the transparent cutout at full size
Apply the mask at the source dimensions, export a PNG with transparency, and view it over both a light and a dark background. Check every leg, small hardware, and edge for clipped wood or a halo of the old room. A clean thumbnail can still have rough edges when enlarged.
This is a local image-editing step using the mask. Meta’s SAM documentation describes masks and boxes; it does not say the service directly returns a finished transparent PNG. If your current image tool cannot turn the mask into an alpha layer, use a local editor that supports layer masks.
Check the exported file’s pixel dimensions before publishing. Once the mask has been mapped back to the source canvas, the cutout should retain that canvas size. Resizing or cropping is a separate edit.
06 | Make a separate generation for the tabletop repair
To repair a missing tabletop patch, duplicate the source or the cutout you already approved, then call Muse Image’s edit endpoint separately. Meta lists the model as muse-image-1.0 and the endpoint as /v1/images/edits. Describe the exact area to fill and the nearby grain, lighting, and furniture structure.
You can start with this instruction. Fill only the blocked or missing wooden area on the tabletop. Match the nearby grain direction, color, and lighting. Preserve the dresser, drawers, hardware, camera angle, and composition. Add no objects and change no other part of the furniture.
Meta says the model scopes edits to the instruction, but image generation is non-deterministic and may alter more than you requested. The API’s image response has an opaque background, so treat this as a generated repair, not a transparent-cutout endpoint. Do not describe newly generated grain as the furniture’s original detail.
The API’s size field controls aspect ratio rather than exact output dimensions. Check the saved result’s actual pixel size before using it in a catalog, and keep the source-resolution original for comparison.
07 | Compare shape and texture against the source
Place the repair beside the original. Check the dresser proportions, drawer count, handle positions, tabletop thickness, perspective, and shadows. A visually continuous wood pattern does not recover a hidden physical grain pattern. For a resale listing or inventory record, keep the untouched photo and disclose a generative repair when viewers need to know the image was altered.
If a prompt meant for the tabletop also changes a handle or cabinet edge, discard that version and try again with a narrower instruction. Save each approved result under a new filename instead of overwriting the source.
08 | Keep three deliverables with clear names
Keep the source photo, transparent cutout, and generatively repaired image. Include the object, purpose, and version in each filename, for example dresser-source.jpg, dresser-cutout-v1.png, and dresser-repair-v1.png. Record the model, source dimensions, mask reviewer, and repaired area so you know which file is suitable for a catalog page.
A SAM mask describes an object boundary. Muse Image attempts an image edit. Review both outputs before using them, especially real product appearance, edge quality, and invented texture. A completed model request is not a product-photo approval.
09 | A real workflow example still needs review
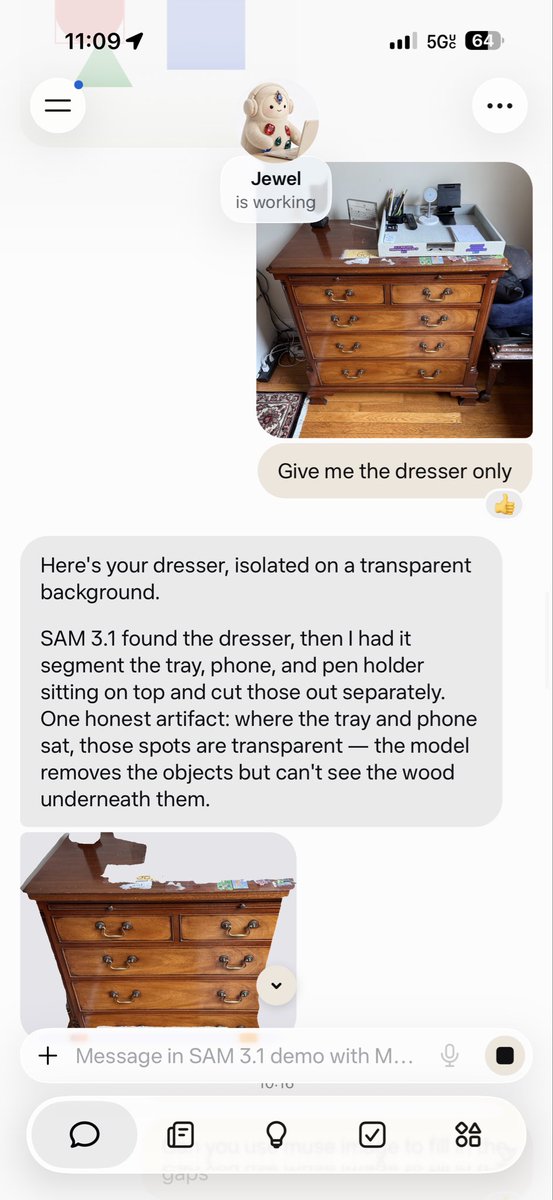
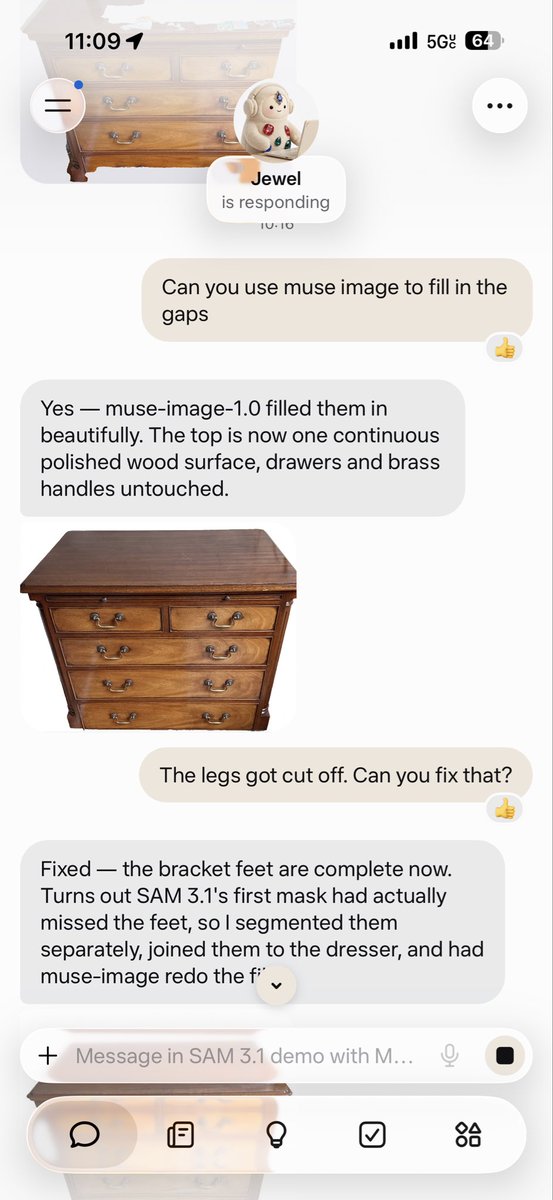
A second public screenshot from the same author shows a tabletop being filled, followed by a correction after the dresser feet were missed. It is a useful reminder to inspect the mask and the generated image, then check small components independently. This individual example does not promise the same output across accounts, connectors, or photos.
References
These sources support the product information in this guide. Musevip is an independent publication and is not affiliated with Meta.
Last reviewed 2026.10.01. Product pages may change.