
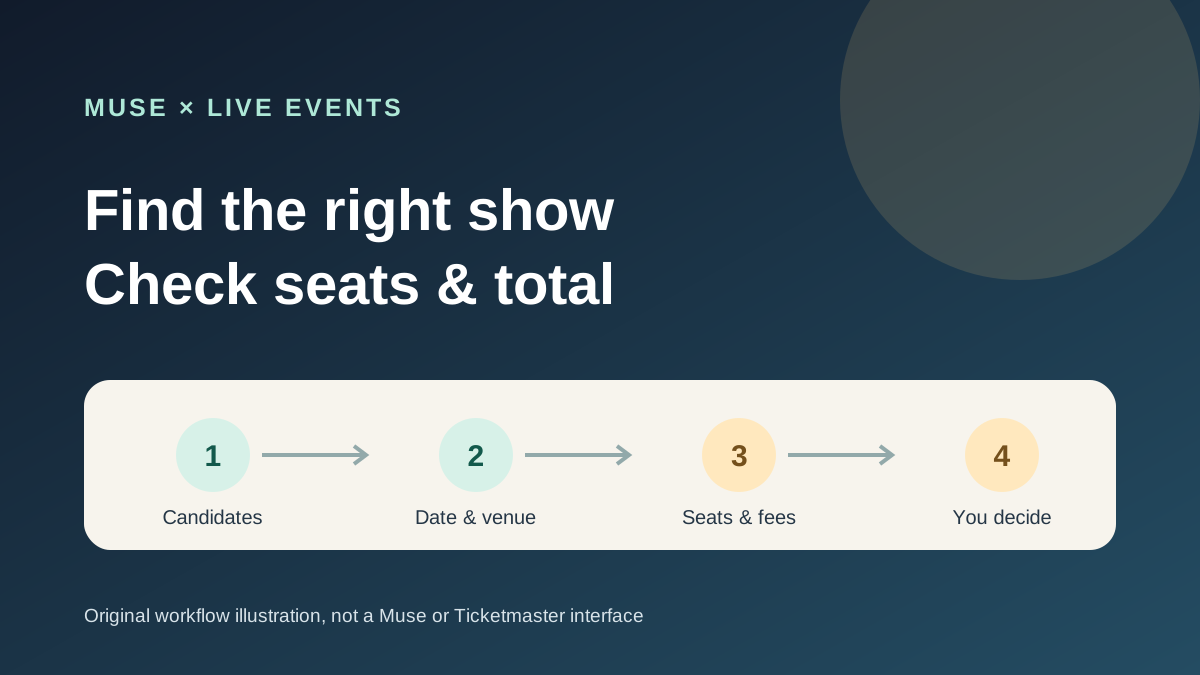
This guide focuses on “Muse Ticketmaster” and turns the question into practical steps you can check.
01 | Use Muse to organize candidates
You find a show, then notice the city is wrong, the date conflicts with your calendar, or the full order costs more than your budget. Break each candidate into details you can check before deciding whether to keep looking.
Ticketmaster announced its Muse connector on September 8, 2026. It says Muse can surface event options and real-time event, seating, and pricing information, while the purchase takes place on Ticketmaster. The announcement names an English experience on web, iOS, and Android for users in the United States and Canada. This guide is based on public documentation; I did not log into a Muse or Ticketmaster account to test it. Connector and event availability depend on your account and the current event page.
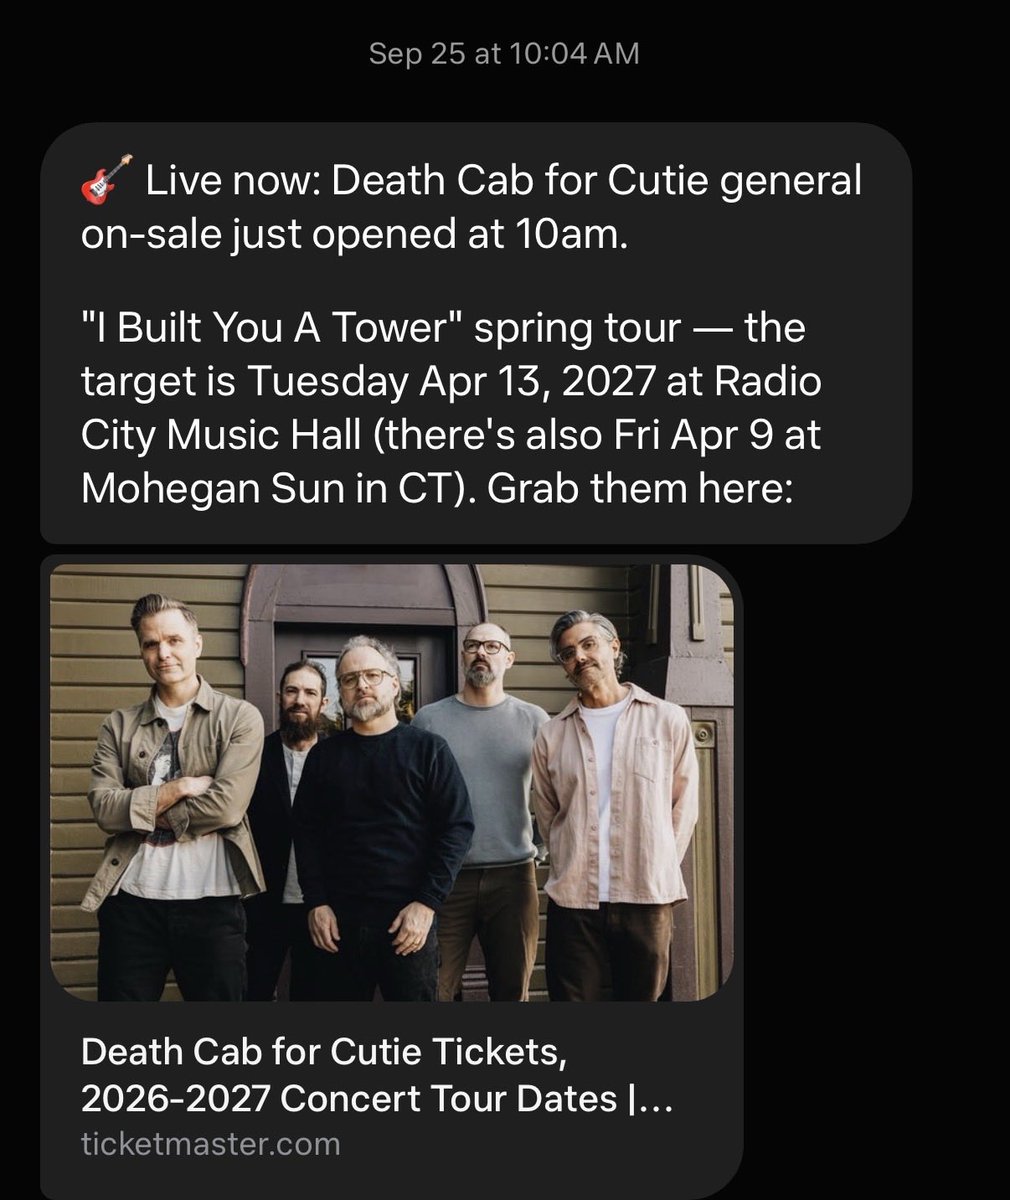
One public user example shows a sale reminder and a Ticketmaster event link. It is a lead for this guide; the steps below follow Ticketmaster help documentation.
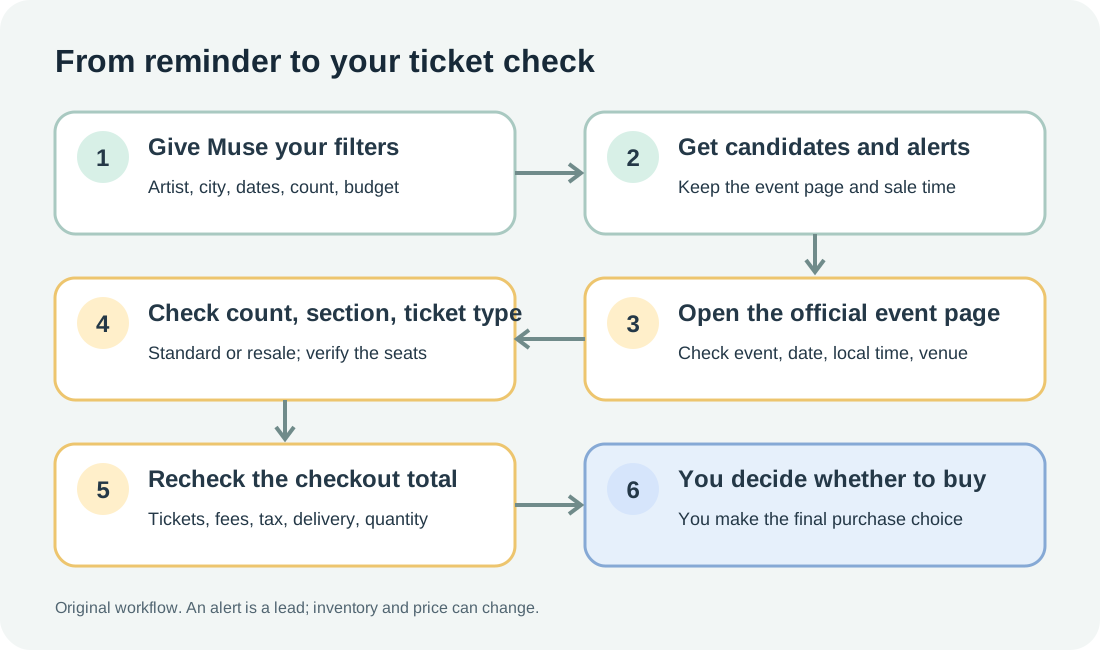
02 | Set your city, dates, and total budget first
Do not stop at “find concerts near me.” Name the artist or genre, acceptable cities, date window, ticket count, travel radius, and maximum spend per ticket and for the whole order. If you can only go on weekends, say so. For a multi-city search, list the places you would actually travel to.
Set a total-order ceiling and leave room for tax and delivery choices. Ticketmaster says upfront prices generally include face value and required fees, but are generally before taxes; a delivery fee or other selected option can appear during checkout. A $100-per-ticket limit is different from a $100 limit for the entire order.
Try this prompt. Find [artist name] shows in New York and Philadelphia over the next three months, preferably on Fridays or Saturdays, for no more than two tickets. My total order budget is $300. List each event date, venue, local start time, official ticket page, currently visible price information, and sale time. Mark unavailable fields as unknown. Only organize candidates and sale details; do not choose seats or buy tickets.
03 | Keep enough detail to revisit each candidate
Ask Muse for one row per show. Keep the artist or event name, tour or show label, date, full venue name, city, local start time and time zone, sale time, and official event URL. If a price or seat detail is not published yet, mark it “not announced” or “unverified.” Do not fill gaps with prices from a similar date.
Ask it to explain which of your filters each candidate meets and where the information came from. A comparison table can narrow your choices, but a price copied into a Muse summary is not a live quote. Inventory can change, so recheck the page when you are ready to buy.
04 | Verify the event on its official page
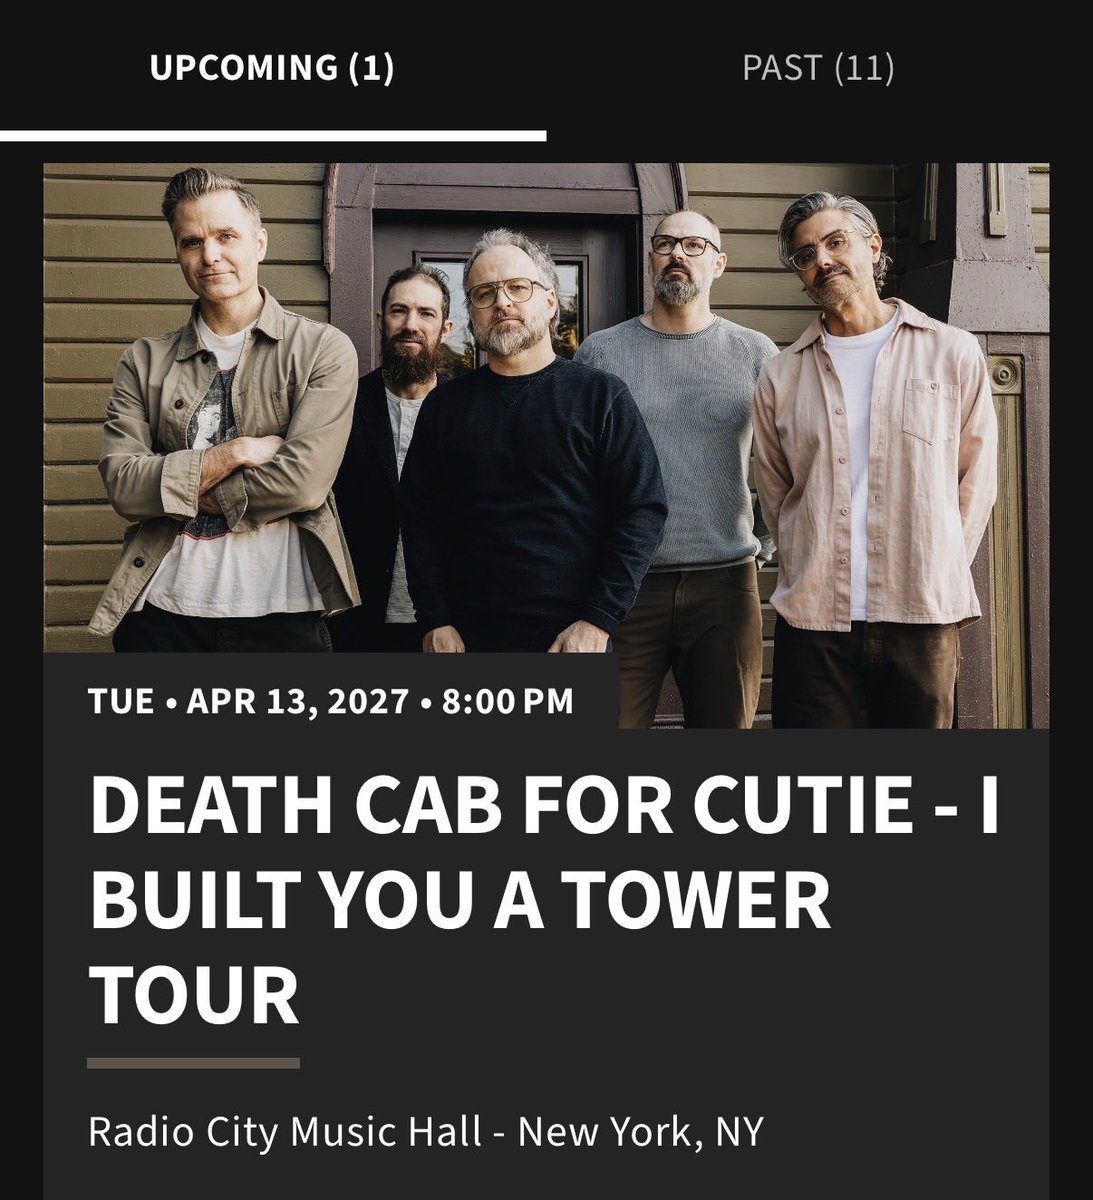
Open the candidate link and check that it is a Ticketmaster event page, or that the venue or artist’s official site links to that ticket seller. Ticketmaster’s help page recommends searching by location and narrowing results with category, genre, or date filters. Search results help you find a page; the page itself still needs a careful check.
An artist can have multiple shows close together, and venue names can be easy to mix up. Match the artist, tour, city, venue, local event date, day of week, and start time against your calendar. If Muse and the current official page disagree, use the current official page and remove the stale candidate from your sale plan until you resolve the discrepancy.
05 | Check the section and ticket type
Enter the number of tickets you need before comparing seats. On Ticketmaster’s interactive map, selecting a section can show a list of tickets and prices; on desktop, hovering over a seat can show its details. Check the level, section, row, seat, or floor-area name. Read what the ticket includes, such as a package or a stated restriction.
Ticketmaster marks standard and resale tickets separately. Resale sellers set their prices, which can be above or below face value. The lowest price in an old screenshot may not describe the tickets you have selected now. Ticketmaster also says selected seats are not officially reserved until you click Buy Tickets and pass its security check, so do not treat a saved screenshot as a hold.
06 | Compare the full checkout amount
For each option, track ticket price times quantity, required fees, tax, and any delivery or add-on choice. Ticketmaster says the upfront price generally includes required fees, while taxes are generally added separately; exact treatment depends on the event location and your choices. The final amount on the checkout page is the one to compare with your budget.
You can ask Muse to compare visible line items without estimating missing ones. Try this. Compare only the items shown on the Ticketmaster event or checkout page I provide. List ticket price, quantity, required fees, tax, delivery or add-ons, order total, and the amount over or under my budget. Mark anything not shown as unavailable instead of estimating, and name the page each figure came from.
Keep resale options separate from standard tickets. Ticketmaster says the resale seller sets the resale price. If both types appear for one show, compare them as different choices rather than treating the lowest number as the obvious winner.
07 | Follow the official queue at sale time
If the event uses Ticketmaster’s queue, open the correct event or presale link and follow the on-page instructions. Ticketmaster recommends one account, one device, and one browser, and says not to refresh manually. The queue cannot be skipped, and a place in line does not guarantee that tickets will still be available.
Muse can help organize an event, sale time, and entry link; it cannot bypass a queue or promise seats. If a presale requires an organizer link, use the one supplied by that organizer. Do not treat an unfamiliar forwarded short link as the official seller. Recheck the artist or venue site if the sale details have changed.
08 | Make the final check yourself
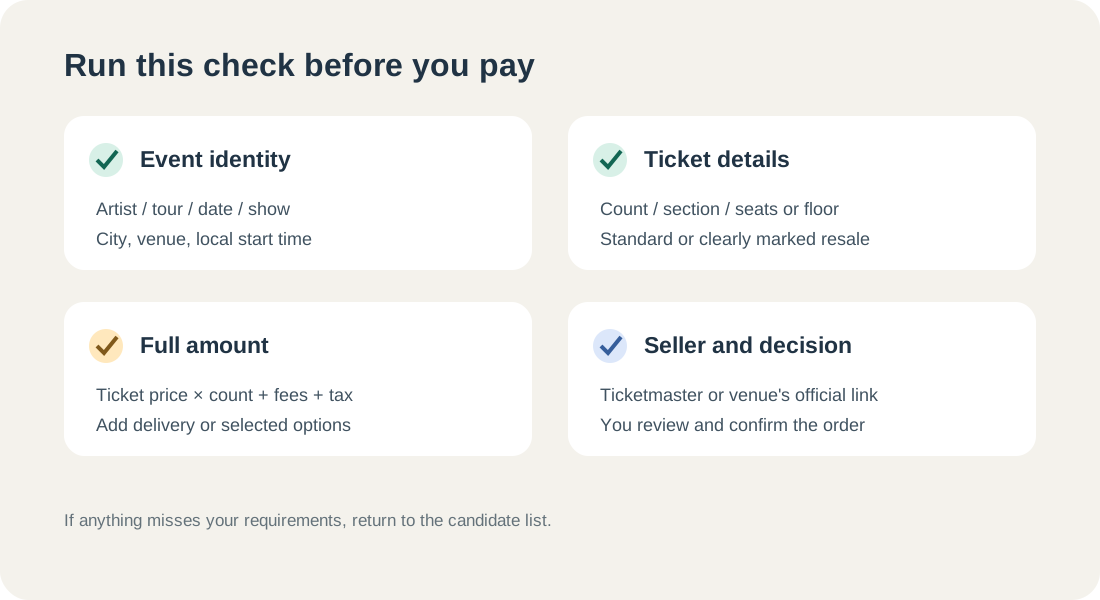
Compare the event name, venue, local date and time, ticket count, section, ticket type, per-ticket price, fees, tax, delivery choice, and full order total. If one detail misses your original requirements, return to the candidate list. Once you confirm that the path belongs to Ticketmaster or the venue’s official seller, you decide whether to continue.
If you decide to continue, review the event and full order amount shown on Ticketmaster, then confirm payment yourself. Ticketmaster says it cannot verify tickets sold by third parties; if the venue sells tickets directly, confirm the seller through the venue’s official site. Muse can shorten the shortlist, while you make the final transaction decision.
References
These sources support the product information in this guide. Musevip is an independent publication and is not affiliated with Meta.
- [1] Ticketmaster Business: Meta and Ticketmaster Bring Live Event Discovery to Muse (2026-09-08)
- [2] Ticketmaster Help: How do I search for an event?
- [3] Ticketmaster Help: Interactive seat map
- [4] Ticketmaster Help: How ticket prices and fees are determined
- [5] Ticketmaster Standard Purchase Policy
- [6] Ticketmaster Help: What is the queue and how do I join?
- [7] Ticketmaster Help: How do I confirm if my tickets are valid or authentic?
- [8] Meta Muse product page