
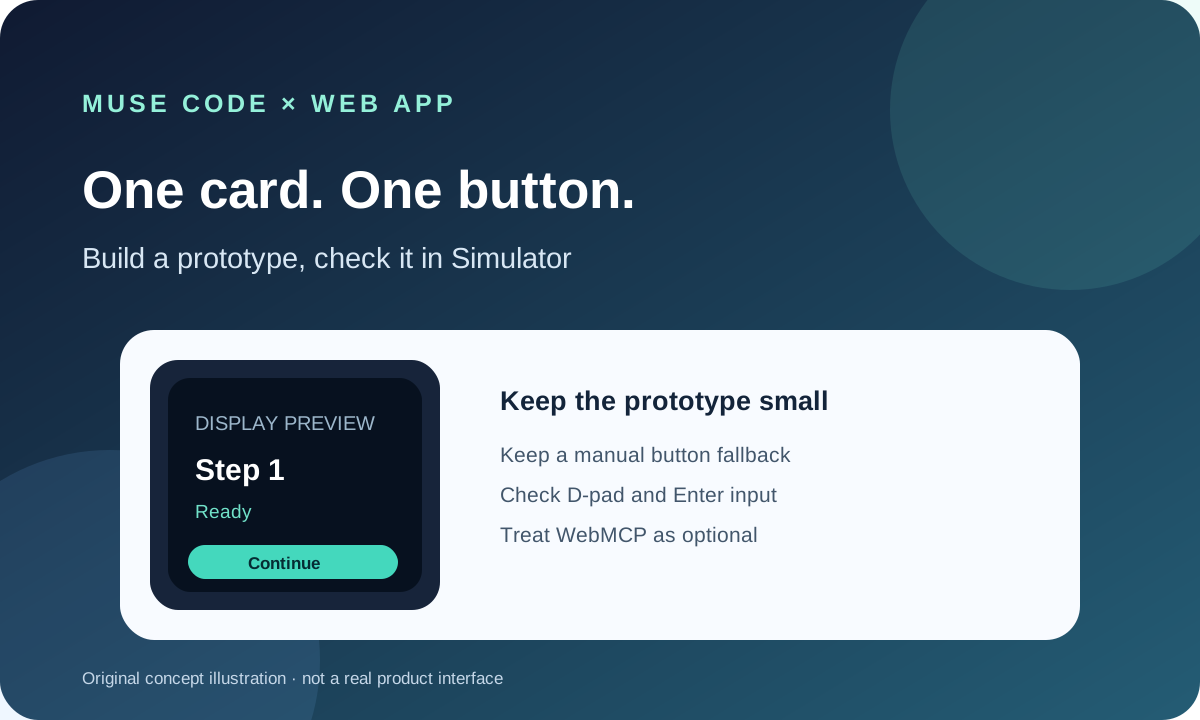
This guide focuses on “Muse Code Web App” and turns the question into practical steps you can check.
01 | Start with one card, not a full app
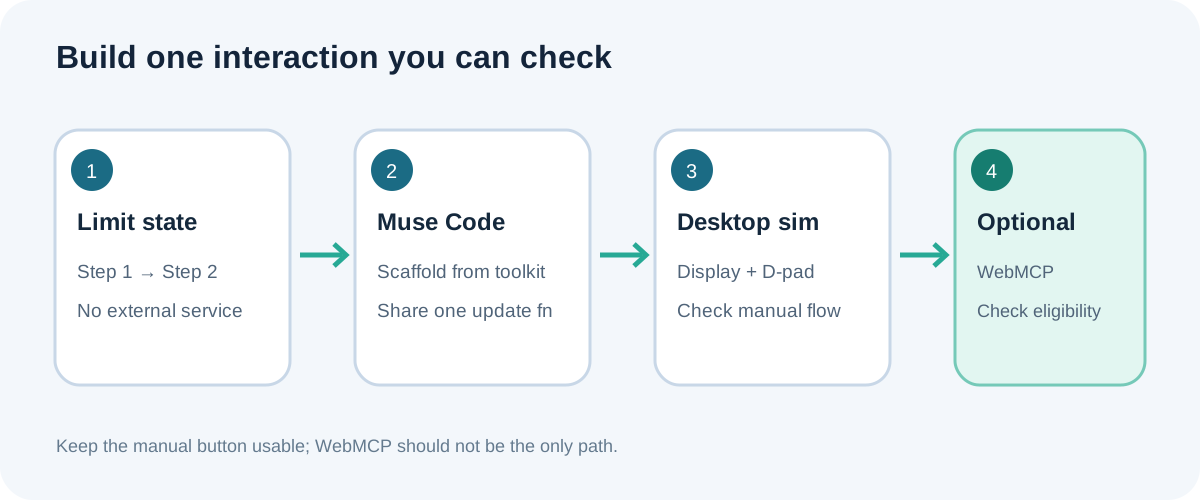
Pick one small action: the display says “Step 1 / Ready,” then a directional-button or select action changes it to “Step 2 / Continued.” Keep a visible, focusable button and route keyboard, mouse, and glasses input through the same update function. This checks layout and input without accounts, network calls, or cloud data.
Ray-Ban Display Web Apps use familiar HTML, CSS, and JavaScript. Meta’s examples use React and its UI Toolkit, but the result is still a web experience. Muse Code is the coding tool helping you write it; it is not Meta AI running on the glasses.
02 | Install the right tools and distinguish the two MCPs
Meta’s Wearables Web App AI Toolkit repository provides a Muse Code plugin and project skills. Following its current README, add the official marketplace in a Muse Code terminal with muse plugins marketplace add meta-wearables https://github.com/facebook/meta-wearables-webapp, then install the plugin with muse plugins install meta-wearables-webapp@meta-wearables. Check the README again if the marketplace changes.
The repository also lists Meta Wearables Docs MCP at https://mcp.developer.meta.com/wearables, which lets a coding assistant search official docs. That is not WebMCP and does not expose your site’s button to Meta AI. Keep API keys and other secrets out of ordinary prompts; this prototype needs no key.
03 | Ask Muse Code for only the smallest page
Create an empty project and include both the task and acceptance checks in your request. For example, write this.
“Use the current official Meta Wearables Web App Toolkit template to create a minimal Ray-Ban Display page. Show only a title, status text, and a Continue button. Focus the button for directional navigation; Enter/Select and a click must call the same advanceStep function. Keep state local and change only from step 1 to step 2. Do not connect an external service or publish anything. Tell me the local preview command and how to check it with Chrome Simulator.”
Review the generated package files and scripts before installing dependencies. Do not add location, camera, accounts, or remote services for this exercise. The UI Toolkit can help with display components and D-pad focus; the normal button should still be visible and operable.
04 | Check legibility in the 600 × 600 simulator
Toolkit projects typically use React, Vite, and TypeScript. Follow the project README for its local preview script; Meta’s example commonly serves the preview at http://127.0.0.1:4173/. Open it in Chrome with the Meta Ray-Ban Display Simulator extension enabled and inspect the 600 × 600 canvas. The title, current state, and main button should be easy to read. Avoid cramped edges and low-contrast small text.
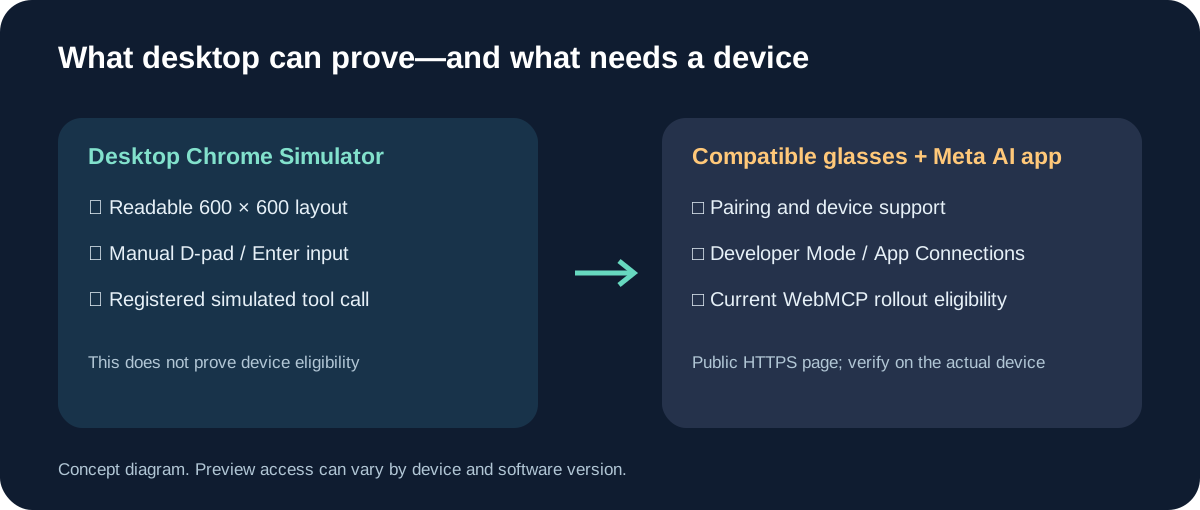
Move focus with the simulator’s directional controls and press Enter/Select. Then click once with a mouse and confirm both paths show the same result. A desktop simulation is not a test on physical glasses.
05 | Only add a small tool if Meta AI should act on the page
Add WebMCP only if you want Meta AI to call a page action while the Web App is open. Meta’s docs use document.modelContext.registerTool() to register a tool with a name, description, and execute action. For this prototype, register advance_demo_step and have both execute and the button call the same advanceStep() function. That prevents voice and manual input from maintaining separate state logic.
Keep the tool description narrow and plain, such as “Move the demo card to the next step.” Do not accept arbitrary code, URLs, or user instructions as input. Even though this example needs no arguments, use an empty object schema as required by the current documentation and validate state inside the action. Keep the page button available for people whose voice tools are not enabled.
06 | Use Simulator to check registration and invocation
In desktop Chrome with WebMCP enabled, Meta’s Web Apps Simulator can show the display area, directional input, and tool debugging information. With the local preview open, first check whether the page tool is discovered according to the current WebMCP docs. Then invoke it through the Simulator chat or voice agent and confirm the state advances exactly once and returns a short human-readable result. Do not call your page’s execute function directly; that skips the tool registration path.
Meta says tool eligibility can be evaluated when the app starts. If document.modelContext is missing, the tool is absent, or a duplicate registration fails, keep the button fallback and check browser/device eligibility, naming, and registration timing. WebMCP remains in an early developer preview, so availability and APIs may change.
07 | Check the actual Meta AI path only if you have the glasses
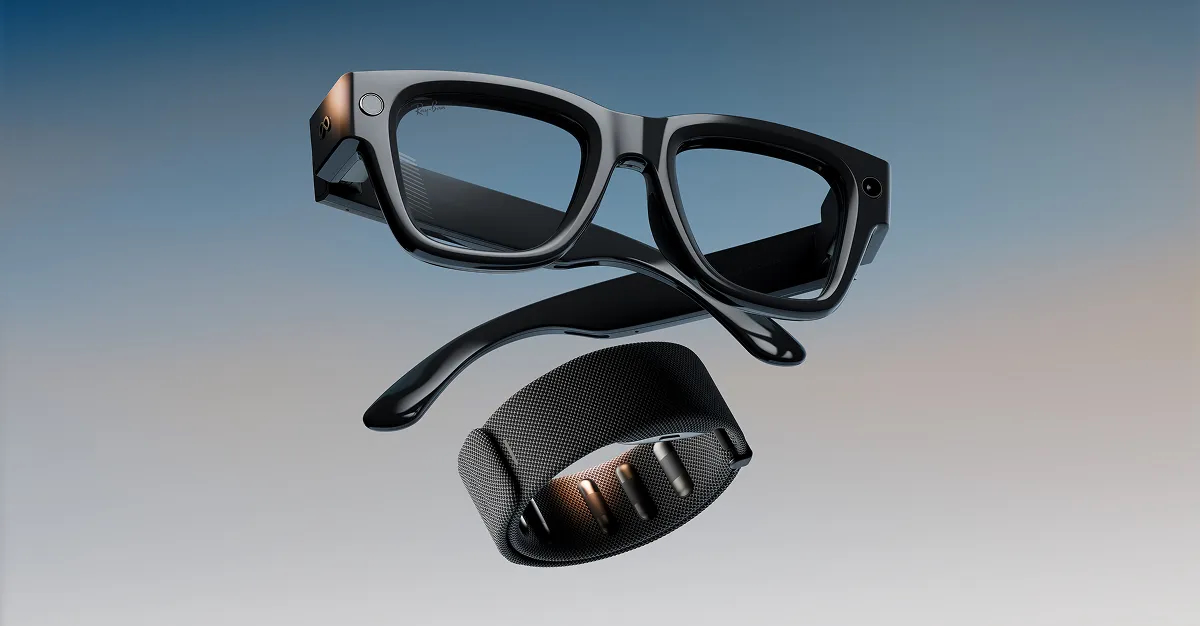
Meta’s FAQ says the device experience requires compatible Ray-Ban Display glasses paired with the Meta AI app. The app-connection flow uses Developer Mode / App Connections. WebMCP availability also depends on device and rollout eligibility. Meta’s docs say some devices need the relevant option enabled and eligibility may be checked when the app starts; after changing settings, restarting both the glasses and Meta AI app may be needed.
Without that hardware, record the result as “desktop Simulator checked,” not “Meta AI can control the glasses.” A publicly reachable HTTPS page is required for the glasses to load a hosted app; this guide does not deploy or add one. Meta’s public FAQ still describes public directory/submission as forthcoming, so do not promise that the app can already be listed.
08 | Finish with three checks
Record three checks: is the page readable in the 600 × 600 area; do directional controls and Enter/Select operate the same button; and, if you added WebMCP, did Simulator invoke the registered action and produce exactly one expected state change? If tool eligibility is uncertain, stay with the manual button flow.
Write down the local changes and anything not verified, such as “layout and simulated input checked; no device connection or deployment.” That keeps a desktop demo from being mistaken for a live app or device-level voice permission.
References
These sources support the product information in this guide. Musevip is an independent publication and is not affiliated with Meta.
Last reviewed 2026.10.02. Product pages may change.